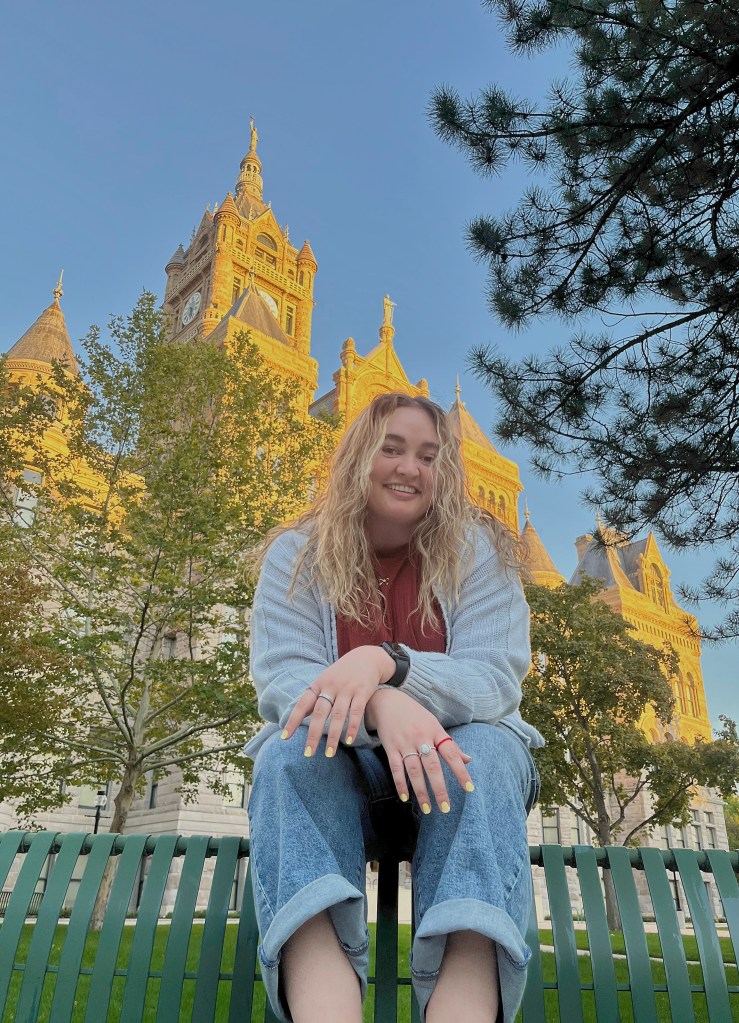
In this photo, the lighting of the golden hour was already gone. I adjusted the exposure to bring more light onto the model’s face. I also adjusted the shadows to make the needles of the pine tree more full. After that, I adjusted the saturation to emphasize the gold on the building behind her to have a brighter overall image.
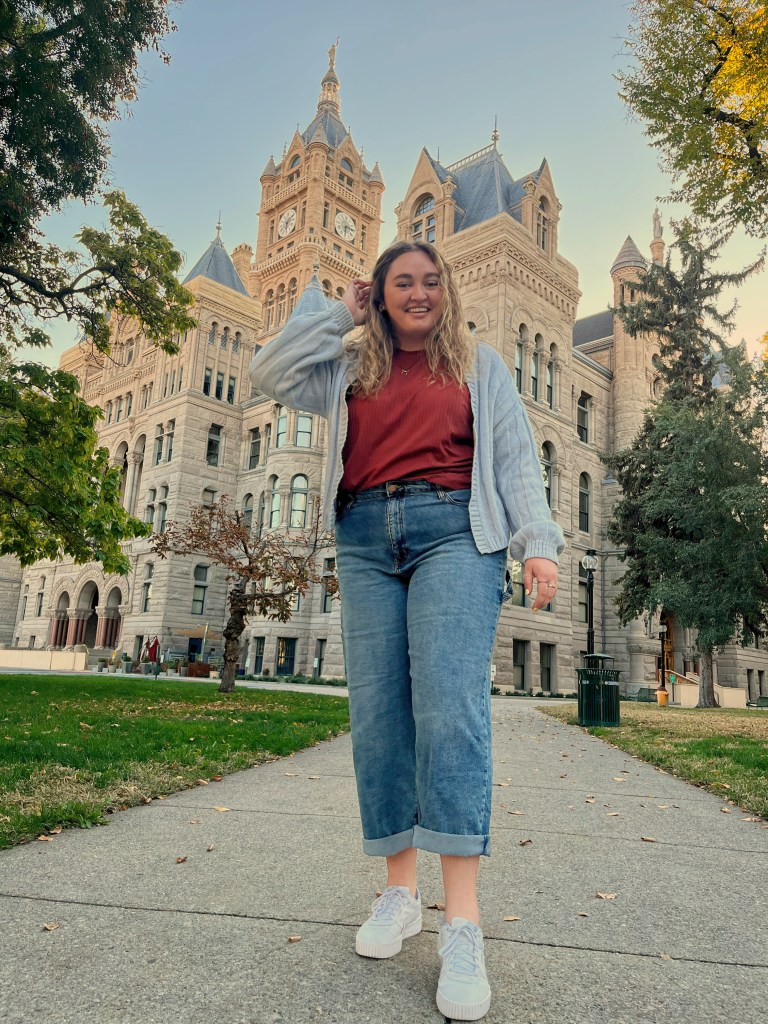
For this photo, I wanted to emphasize the color in the model’s outfit. I did this by adjusting the saturation and clarity of the image. After that, I adjusted the black point in order to increase the contrast between her and the background. Then I reduced the exposure a small degree to reduce the harsh light on her face.
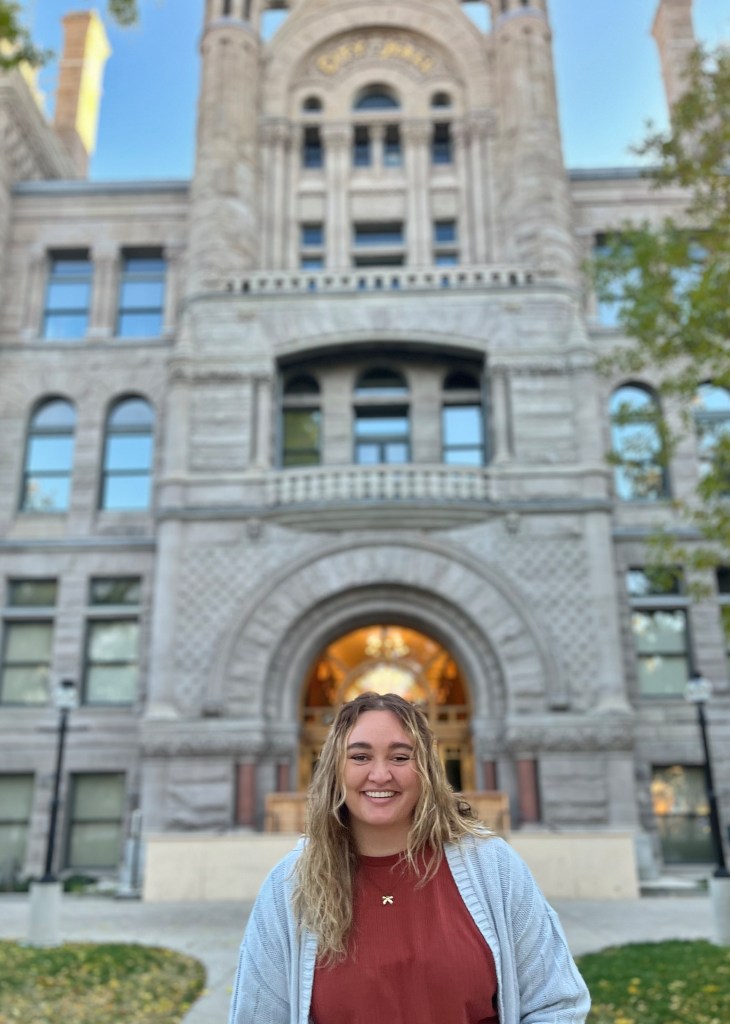
In this picture, I wanted to frame the model with the light showing as a halo around her head. To better achieve this I cropped the photo to focus more on her as part of the building. I then reduced the exposure to soften the light on her face and increased the saturation in order to bring out the light of the halo around her head.
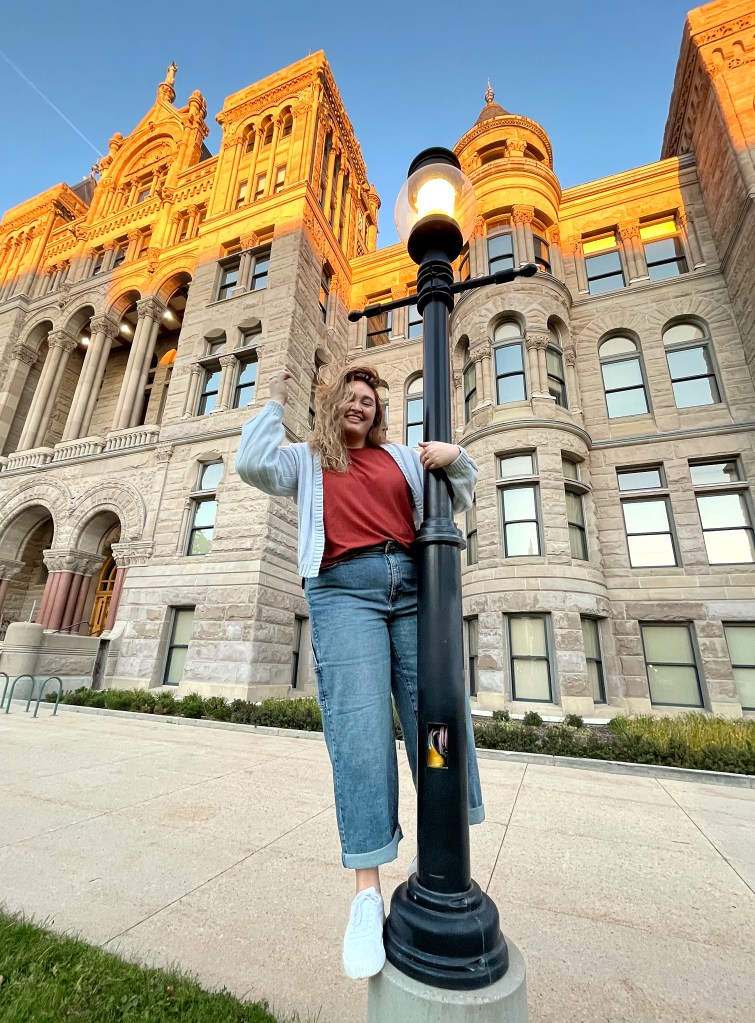
This was one of my favorite photos from the shoot. I wanted it to feel light and carefree. To do this I reduced the exposure and increased the saturation. Then I increased the black point to bring out the contrast of the shadows. I then cropped the photo to focus more on her and remove a large portion of the foreground. This all worked together to give a feeling of motion and light through the image.
This photo was the most fun to edit. I wanted to create a magical feeling from the image and light. To do this, I masked out the model and increased the saturation of the background to have the yellow and green shine more brightly. Then on the model, I reduced the exposure and the saturation to create a feeling that she was new. Then I increased the white point to have the brightness of her shoes and sweater shine and create more contrast.

Leave a comment